

Printing Your Media Guide
We recommend having some type of print version available whether it is a hard copy of your media guide or a printed end of the season yearbook. Take a hybrid approach and offer the digital version for free and print limited quantities to sell at games. Shop around for printers to find the price and style of guide that works for you. Once you have your printed media guides make sure to spread the word via email and social media. Utilize game days to sell and distribute media guides to fans, players and families.
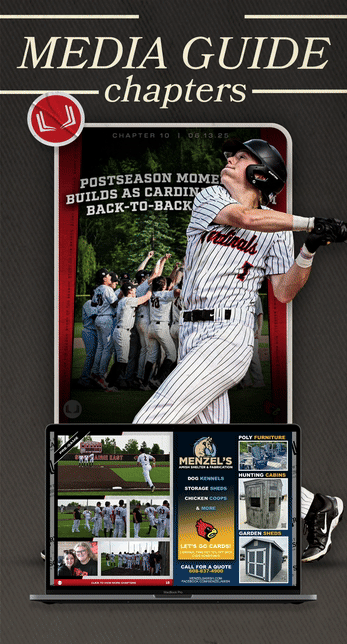
Start Printing
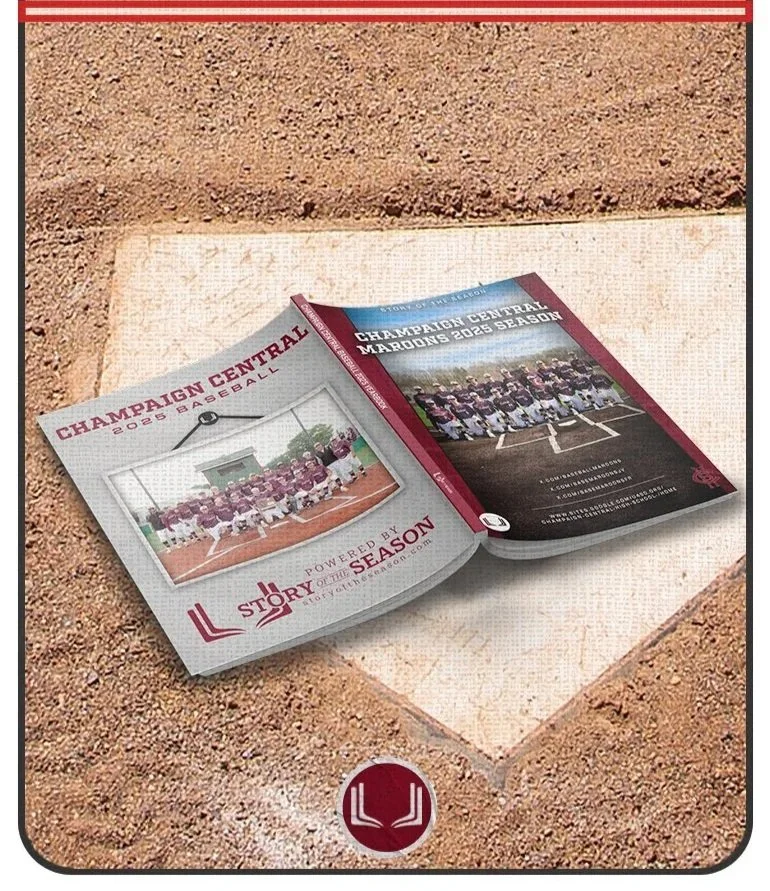
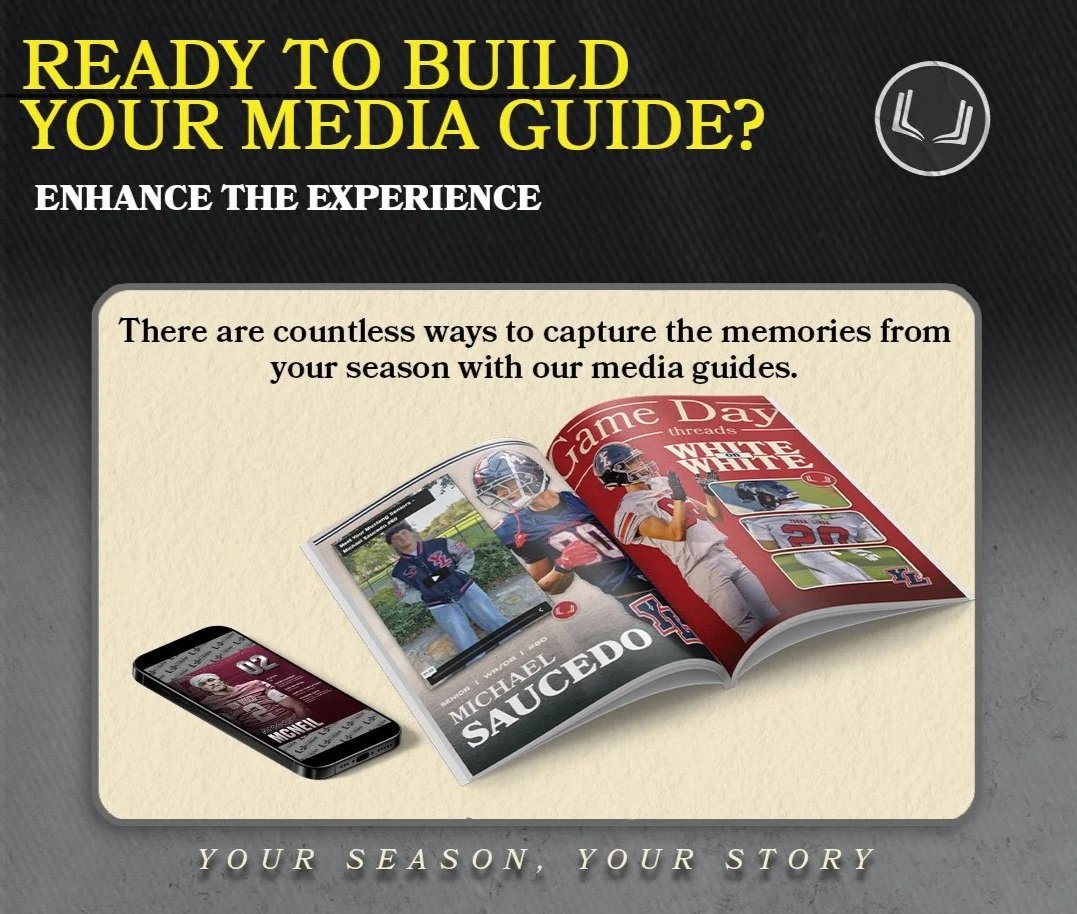
Once your media guide has been designed, reviewed and approved it is time to take the next step and get it into people’s hands. Print Media Guides are incredibly popular with families and players as it provides a tangible keepsake from the season. Not only is it used at games for identifying players, updating fans on game schedules and showcasing sponsors but also cements the season into print. Print media guides are definitely more expensive to produce than digital but are meaningful to families, fans and players.
Digital & Print Hybrid Approach
Most teams will do a print media guide either before or after the season. Printing before the season requires a very early start date and can be difficult as rosters may not be finalized until a few days before the first game. Most of the time “preseason-media guides” become “mid-season media guides.”
End of season media guides are more like a yearbook and have a lot more content from the current season in it. The one downside is that families, fans and players have to wait until after the season to see it. Fans may want a media guide or roster during games so they can identify players and the information feels relevant.
We recommend doing a hybrid approach of a print and digital media guide. That way fans always have access to the media guide but also can pay to have a printed one. We have come up with 5 easy steps on how to do a hybrid media guide.
Launch the digital media guide before first game
The link can be shared via email, text, QR Code and can be as simple as a PDF on the team’s website. Since you are already doing a print media guide you will have the PDF ready to go. It doesn’t have to have all the same content as a print media guide but the basic information will be useful for fans. Having the digital media guide accessible to fans before the first game, gives you some extra time to review and print the media guide. Fans still have a great way to learn about the team but can also look forward to a tangible book.
Print a limited quantity
Don’t go crazy and print hundreds of media guides. Since the digital option is available you can limit how many books you have to purchase and print. The hybrid approach saves you money and time as the printer has less books to print.
Take orders for print media guides.
Worried you won’t print enough? Take orders from families who want a print media guide. That way you don’t print an excess amount of media guides and waste a ton of money and space. Typically extra media guides sit in a box in the coaches office and then are thrown out. Don’t waste the money! You can also charge those who want a print media guide since there is already a free digital option. We recommend buying a few more media guides than the exact number that was ordered. You may want the opportunity to sell those to additional fans and family members at the games.
Sell left over media guides at home games
Recoup your printing costs by selling the extra printed media guides at home games. Anyone who didn’t put in an order before now has the opportunity to buy one. The digital option is a free option for any one who wants fast information at the games or may have forgotten their printed one at home. Give the digital version away for free and sell the print version.
Opt for a print yearbook instead
Don’t want to be crunched for time to get the printed media guide out before the first few games of the season? Try out a printed yearbook instead of a printed preseason media guide. The yearbook comes out after the season and is usually a banquet gift to players and families. It includes all the traditional media guide information with the addition of photos from the season and recaps of each game. The yearbook can have a lot of content from the season and is an awesome keepsake for players and families.
Finding a Printer
The most important part of the printing process is finding a local printer that is efficient and affordable. If possible go in person to the printer so that you can see the types of books they are able to print. There are several types of binding, page thicknesses and cover thicknesses that you can choose from. For small media guides Saddle Stitching is common and cost effective. This is when the pages are stapled together and the spine is created with the folding of the pages. Perfect binding is popular for larger, more professional looking books as there are no staples seen. Instead glue is used to keep the pages together and the book has a defined square spine. This option can be more expensive and timely. The printer can help you choose the best option for you and your wallet when it comes to your media guide’s binding, page thickness and hard or soft cover.
Once you have chosen the type of book, the printer will need to know the page count and number of books in the order. This will help them give you a quote on how much it will cost. Don’t be afraid to shop around for printers if you have the time. Print shops vary on their pricing so if you are not happy with the quote you get from one printer, try out another.
File Setup Tips
Once you have found a printer and agreed on a quote you will need to supply the printer with the design file. Confirm with the printer what file type they need whether it is a PDF, InDesign or an alternative file. Most if not all printers will take a PDF file for printing.
They may ask you to set up the PDF or design file with bleed, margins and cropmarks. These are guidelines in the document that tell the printer where to cut the page as well as ensure that content doesn’t get cut off. You will also want to ensure the photos in your PDF are not blurry or pixelated, if so there may be some resolution issues when printing.
Bleed - Guidelines that extend around the edge of the pages that images and backgrounds are extended to. This ensures there are no unintentional white borders at the edges of the pages.
Margins - Guidelines within the page that content stays within. This makes sure images or text don’t get cut off or are too close to the edge of the page.
Crop marks - Thin lines placed at the corners of the page that show where the final crop or trim should be made as well as the desired dimensions of the page.
Resolution - The number of dots/pixels that appear within an inch of your image that equates to picture quality. The higher the resolution, the better as the image is more clear.
You'll want to ensure that the photos you use in your media guide are high resolution (around 300 PPI). Your photographer should be giving you the highest resolution photos for the media guide. Screenshots of photos will not be high enough resolution for your media guide. The printer will also let you know if the photos are not high enough quality. Canva, InDesign, Adobe Acrobat and most other design softwares allow you to add the guidelines mentioned above to your file. You can ask the printer if they have specific sizes that they would like the bleed and margins to be. The printer may be able to add these markings themselves to your file but it is always good to ask the printer first rather than assuming they can.
Launching Your Digital Media Guide to Fans
You and your team will need to finalize a plan to distribute your printed media guides. Before you printed, you may have taken orders for the books or you may plan on selling them to fans. We have a few ideas that our teams have used in the past for handing out and selling printed media guides.
Get the word out: Regardless if you took orders for media guides or plan to sell them, you need to let everyone know that the books are in. Send an email blast out to all parents and players. Put it on social media as well. Include where and how long you will be distributing them as well as their cost (if applicable)
Distribute at games - Sell or distribute your media guides at home games. After getting the word out through email and social media, set up a table and signage. Before or during games is a convenient time for families to pick up their media guide or even buy one. You may even get family members, fans or players who were not on your original email list to purchase a media guide. Sell at several home games or until you run out of copies.
Keep records - If your media guides were ordered, be sure to check off who picked theirs up. You also will want to keep track of how many extra you ended up selling and if you had any left over. These selling stats can help you with ordering for next year.
End of Season Yearbook - If you opted to do a digital media guide during the season and print end of season yearbook your distribution may be slightly different. We recommend getting them printed and ready before the end of season banquet. The books can be given out as senior gifts or even sold to families during the ceremony.
It is important to get the media guide out into the public and to sell all of the copies you printed. Recoup your printing expenses! Be diligent on spreading the word even if that is every week. We recommend posting and sharing about your media guide on every game day. You and your group put in a lot of work into this media guide and it’s necessary to take the final step and share it with as many people as possible.